
5 Signs Your Home’s Exterior Caulking Needs to Be Replaced
Exterior caulking is easy to overlook—until cracks, peeling paint, or damaged trim appear. Here are five warning signs North Georgia homeowners should know, plus how to decide whether a joint needs attention before your next exterior painting project.
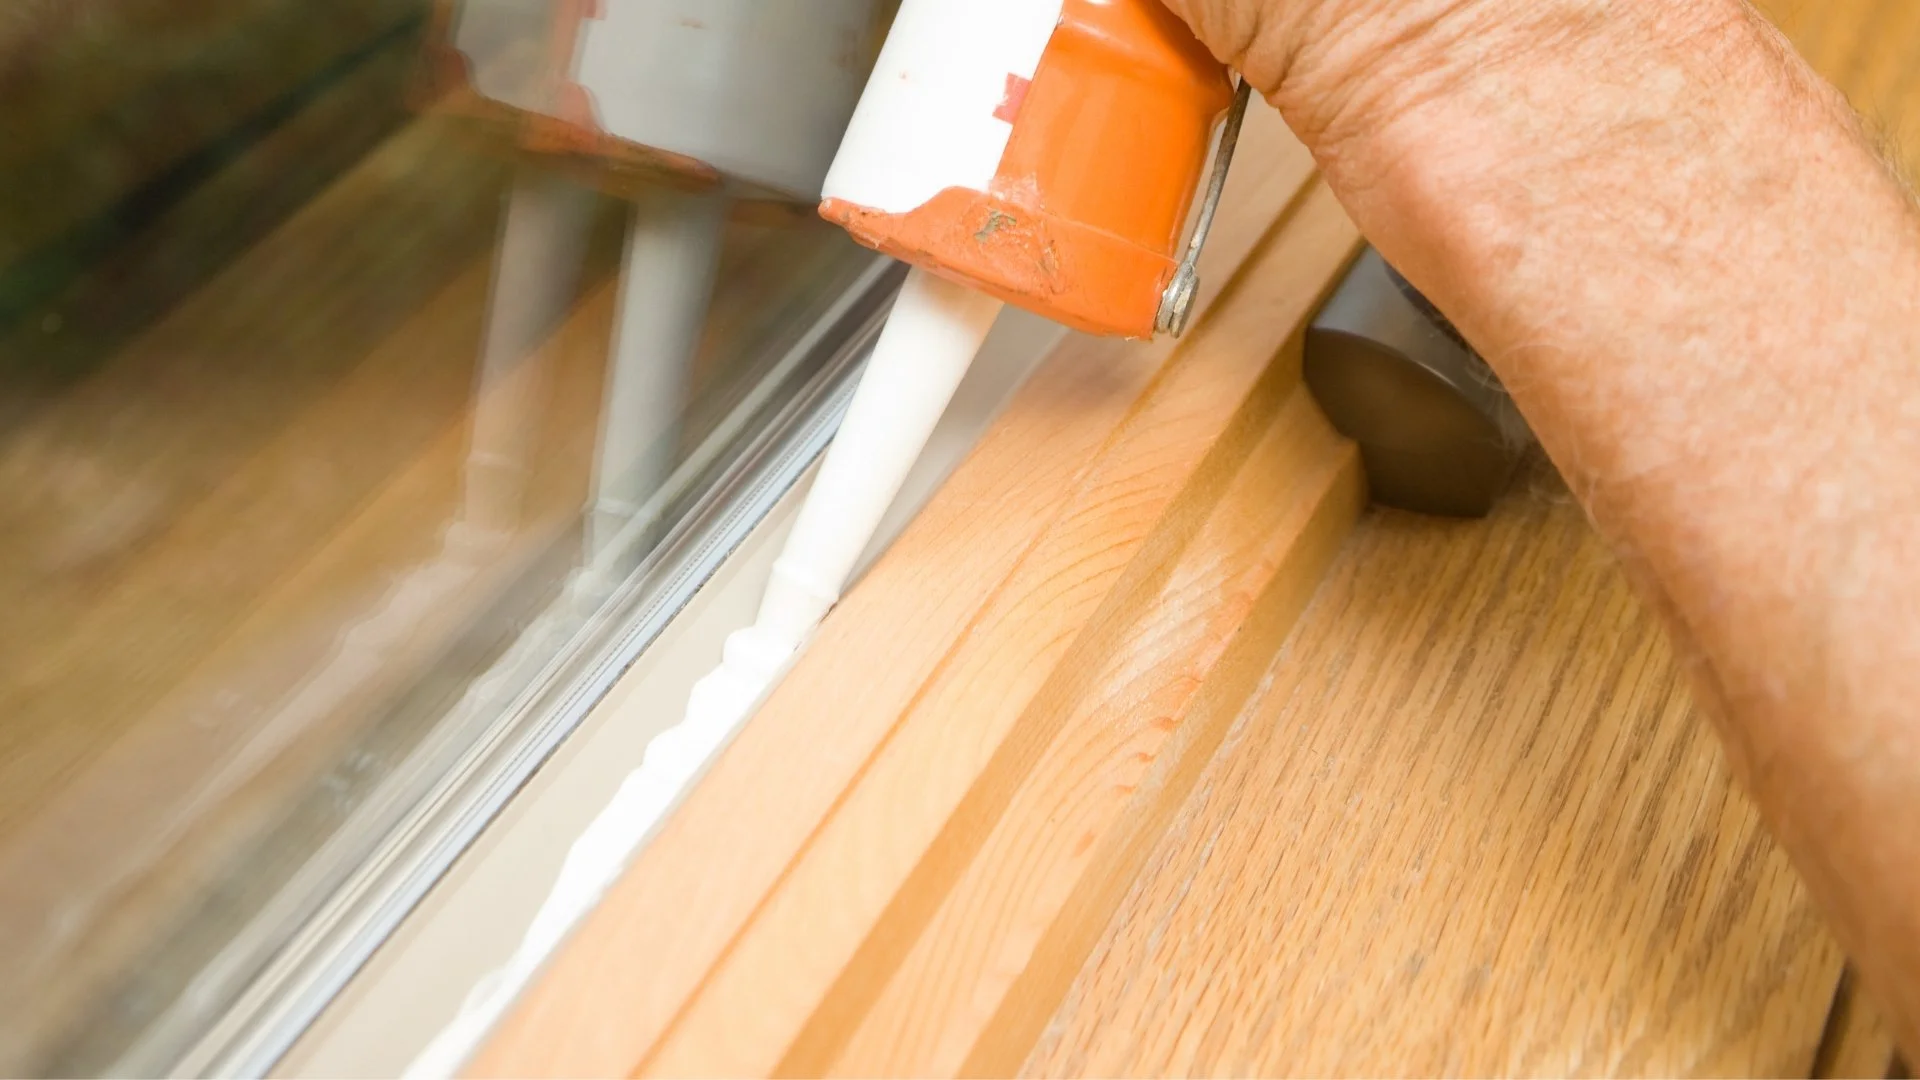
Exterior Maintenance in North Georgia
Why a Small Seal Can Make a Big Difference
Exterior sealant helps protect designated joints around windows, doors, trim, and siding transitions. Properly selected and installed caulk can help reduce unwanted water and air intrusion while accommodating movement between materials.
Georgia's sun, humidity, rain, and temperature changes can gradually affect sealants. A joint that looked neat a few years ago may no longer be performing as intended.
Not every gap should be caulked, however. Some window and siding assemblies need intentional drainage openings. Correctly identifying the joint matters as much as choosing a quality product.
What to Look For
Know the Difference Between Normal Aging and a Failing Seal
Caulk may discolor without losing its seal, while a bead that still looks intact can separate along one edge. Look at the joint itself, the materials around it, and any recurring moisture symptoms.
Start with the areas you can safely inspect from the ground: window trim, exterior door casings, accessible fascia and decorative trim, and previously sealed transitions.
Do not climb ladders or disturb suspect damaged areas simply to check a seal.
Your Exterior Inspection
Four Places to Check First
Most homeowners can begin with a visual inspection of accessible exterior details. Look for cracked sealant, separation, stains, and deteriorated adjacent materials.
For higher elevations or signs of active water intrusion, arrange a professional assessment rather than risking an unsafe inspection.
Explore our exterior painting servicesWindow Trim
Check appropriate sealed joints for cracks, lifting edges, or staining.
Exterior Doors
Inspect accessible casing joints and areas where trim meets adjacent materials.
Fascia & Trim
Look for peeling coatings, gaps, and soft or deteriorating wood.
Siding Transitions
Distinguish intended sealed joints from manufacturer-required drainage gaps.
The Caulking Has Cracked or Split
Visible cracks through the caulk bead may indicate that the sealant can no longer accommodate movement or has deteriorated with exposure. Some cracks are tiny; others run along the entire joint.
Pay special attention to cracks that reach the underlying joint, reappear after past repairs, or coincide with peeling paint.
Painting over failed sealant does not restore a watertight joint.
A surface blemish is not always a failed seal. The depth and location of the crack determine whether replacement is needed.
The Sealant Is Pulling Away
Caulk should adhere to the surfaces it is intended to seal. If one edge pulls away from wood, masonry, or another approved material, the joint may have an opening even if the bead itself is unbroken.
Separation can result from moisture, dirty surfaces, incompatible products, inadequate preparation, or more joint movement than the sealant can handle.
Reapplying caulk over loose material often repeats the same problem.
Successful resealing usually requires removal of failed material and preparation consistent with the new sealant's instructions.
Paint Is Peeling or Wood Is Soft Nearby
Peeling paint, dark stains, swelling, or soft wood around exterior joints can be clues that moisture is reaching vulnerable materials.
Failed caulking is one possible contributor—but it is not the only one.
Roofing, flashing, gutters, window assemblies, and other drainage details can also cause water damage. The moisture source must be identified before cosmetic repairs or repainting.
Do not seal over wet or deteriorated wood. Correct the source of moisture and repair damaged materials first.
The Caulk Looks Brittle or Shrunken
Sealants age differently depending on their formulation, joint design, installation, and exposure. Some become rigid, chalky, or visibly shrunken after years of sunlight and weather.
Aging alone does not prove failure, but shrinking and brittleness combined with cracking or loss of adhesion warrant a closer look.
Product selection should account for substrate compatibility, expected movement, paintability, and manufacturer guidance.
A premium sealant cannot compensate for an incorrectly designed or poorly prepared joint.
Gaps Are Appearing Around Trim
If a previously sealed joint opens between a window casing and trim, or between appropriate trim components, it may be time to investigate.
Material movement, loose trim, deterioration, and failed sealant can all contribute.
Before filling any opening, confirm it is supposed to be sealed. Weep holes, flashing drainage paths, and certain siding gaps must remain unobstructed to let the assembly manage water properly.
Never caulk over intentional drainage or ventilation openings. When uncertain, follow the window or siding manufacturer's details.
The Repair Process
Six Steps Before a Fresh Bead of Caulk
Confirm the opening is intended to receive sealant and is not part of a drainage system.
Check for movement, moisture, loose trim, failed coatings, or damaged materials.
Remove loose or incompatible old material as required for the new product.
Clean and dry the joint, repair damaged trim, and address adhesion concerns.
Select an exterior-rated, substrate-compatible sealant and appropriate joint design.
Apply under suitable conditions and follow instructions before painting or exposure.
Understanding Exterior Damage
Four Problems That Require Different Solutions
A gap, a peeling coating, and rotted trim may appear near the same window—but they should not automatically receive the same repair.
Joint Maintenance
Failed Caulk
Cracked, loose, or separated sealant at a joint intended to be sealed.
Material Deterioration
Wood Rot
Soft, deteriorated wood may indicate prolonged moisture exposure.
Coating Failure
Peeling Paint
Paint may fail because of moisture, adhesion problems, aging, or poor preparation.
Assembly Design
Drainage Gaps
Some openings are intentionally designed to release water from exterior assemblies.
Professional insight: Exterior caulking is only one component of a home's weather protection. Repairs should address the actual cause rather than simply covering visible symptoms.
Professional Exterior Preparation
Why Caulking Matters Before Painting
A premium exterior painting project begins long before the first finish coat is applied.
At Hopewell Painting, we evaluate visible surface conditions and appropriate exterior joints during project preparation.
Depending on the agreed scope, that may include addressing deteriorated caulking, repairing damaged wood, cleaning surfaces, priming exposed materials, and applying compatible sealant where appropriate.
Products such as SherMax may be suitable for certain exterior applications, but proper preparation and product compatibility remain essential.
- Inspect designated exterior joints
- Identify moisture and trim damage
- Remove failed materials as required
- Prepare and prime suitable surfaces
- Apply compatible sealant and coatings

The Bottom Line
Small Exterior Details Deserve the Right Attention
Cracked, separating, shrunken, or deteriorated caulking can be a warning that an exterior joint needs maintenance.
Nearby peeling paint, staining, or soft wood may also indicate moisture problems that require investigation.
The best approach is not automatically to apply more caulk. It is to understand the condition of the joint, identify the cause of failure, and choose an appropriate repair.
Whether you are maintaining your home or planning a complete exterior repaint, careful preparation helps protect the investment you make in your property.
Common Questions
Exterior Caulking FAQs
How often should exterior caulking be replaced?
There is no universal replacement schedule. Sealant life depends on product type, installation, exposure, joint movement, and maintenance. Inspect exterior joints periodically and replace failed sealant when needed.
Can I apply new caulk over old caulk?
Applying new caulk over loose, contaminated, or incompatible old sealant may cause adhesion problems. Failed material generally needs to be removed as required by the new product's instructions.
Should exterior caulking be done before painting?
Many exterior painting systems include appropriate caulking during preparation before finish coats. The correct sequence depends on the sealant, substrate, primer, and coating manufacturer's requirements.
What is the best exterior caulk for windows?
The appropriate sealant depends on the window assembly, adjoining materials, movement, exposure, and paintability. High-performance products such as SherMax may be suitable for certain applications, but product and window manufacturer instructions should guide selection.
Can failing caulking cause wood rot?
Failed sealing at certain joints can contribute to water intrusion, which may lead to deterioration of susceptible wood. However, wood rot can have other causes, so the moisture source should be identified before repairs.
Should every exterior gap be caulked?
No. Some siding, window, and flashing systems contain intentional drainage openings. Sealing those gaps can interfere with water management. Follow the relevant manufacturer's requirements.
Does Hopewell Painting handle exterior caulking?
Hopewell Painting includes appropriate preparation and caulking work in exterior painting projects according to the agreed scope. We serve homeowners throughout Cumming, Alpharetta, Milton, Roswell, Johns Creek, and surrounding North Georgia communities.
Professional Exterior Painting in North Georgia
Your Home Deserves More Than Just a Fresh Coat of Paint.
Hopewell Painting helps homeowners throughout Cumming, Alpharetta, Milton, Roswell, Johns Creek, and surrounding North Georgia communities plan detailed exterior painting projects.
From careful surface preparation and wood rot repairs to premium coatings and architectural details, we believe every part of your home deserves the right attention.
Because every detail matters.
