
The Ultimate Exterior House Painting Checklist: Every Step Professional Painters Should Take Before Applying Paint
A Professional Exterior Paint Job Starts Long Before the First Coat of Paint
A long-lasting exterior paint job isn't just about premium paint—it's about the preparation behind it. From the initial inspection to the final walkthrough, every step plays a critical role in protecting your home and ensuring a beautiful, durable finish. Use this checklist to understand what a professional painting process should include before any paint is applied.
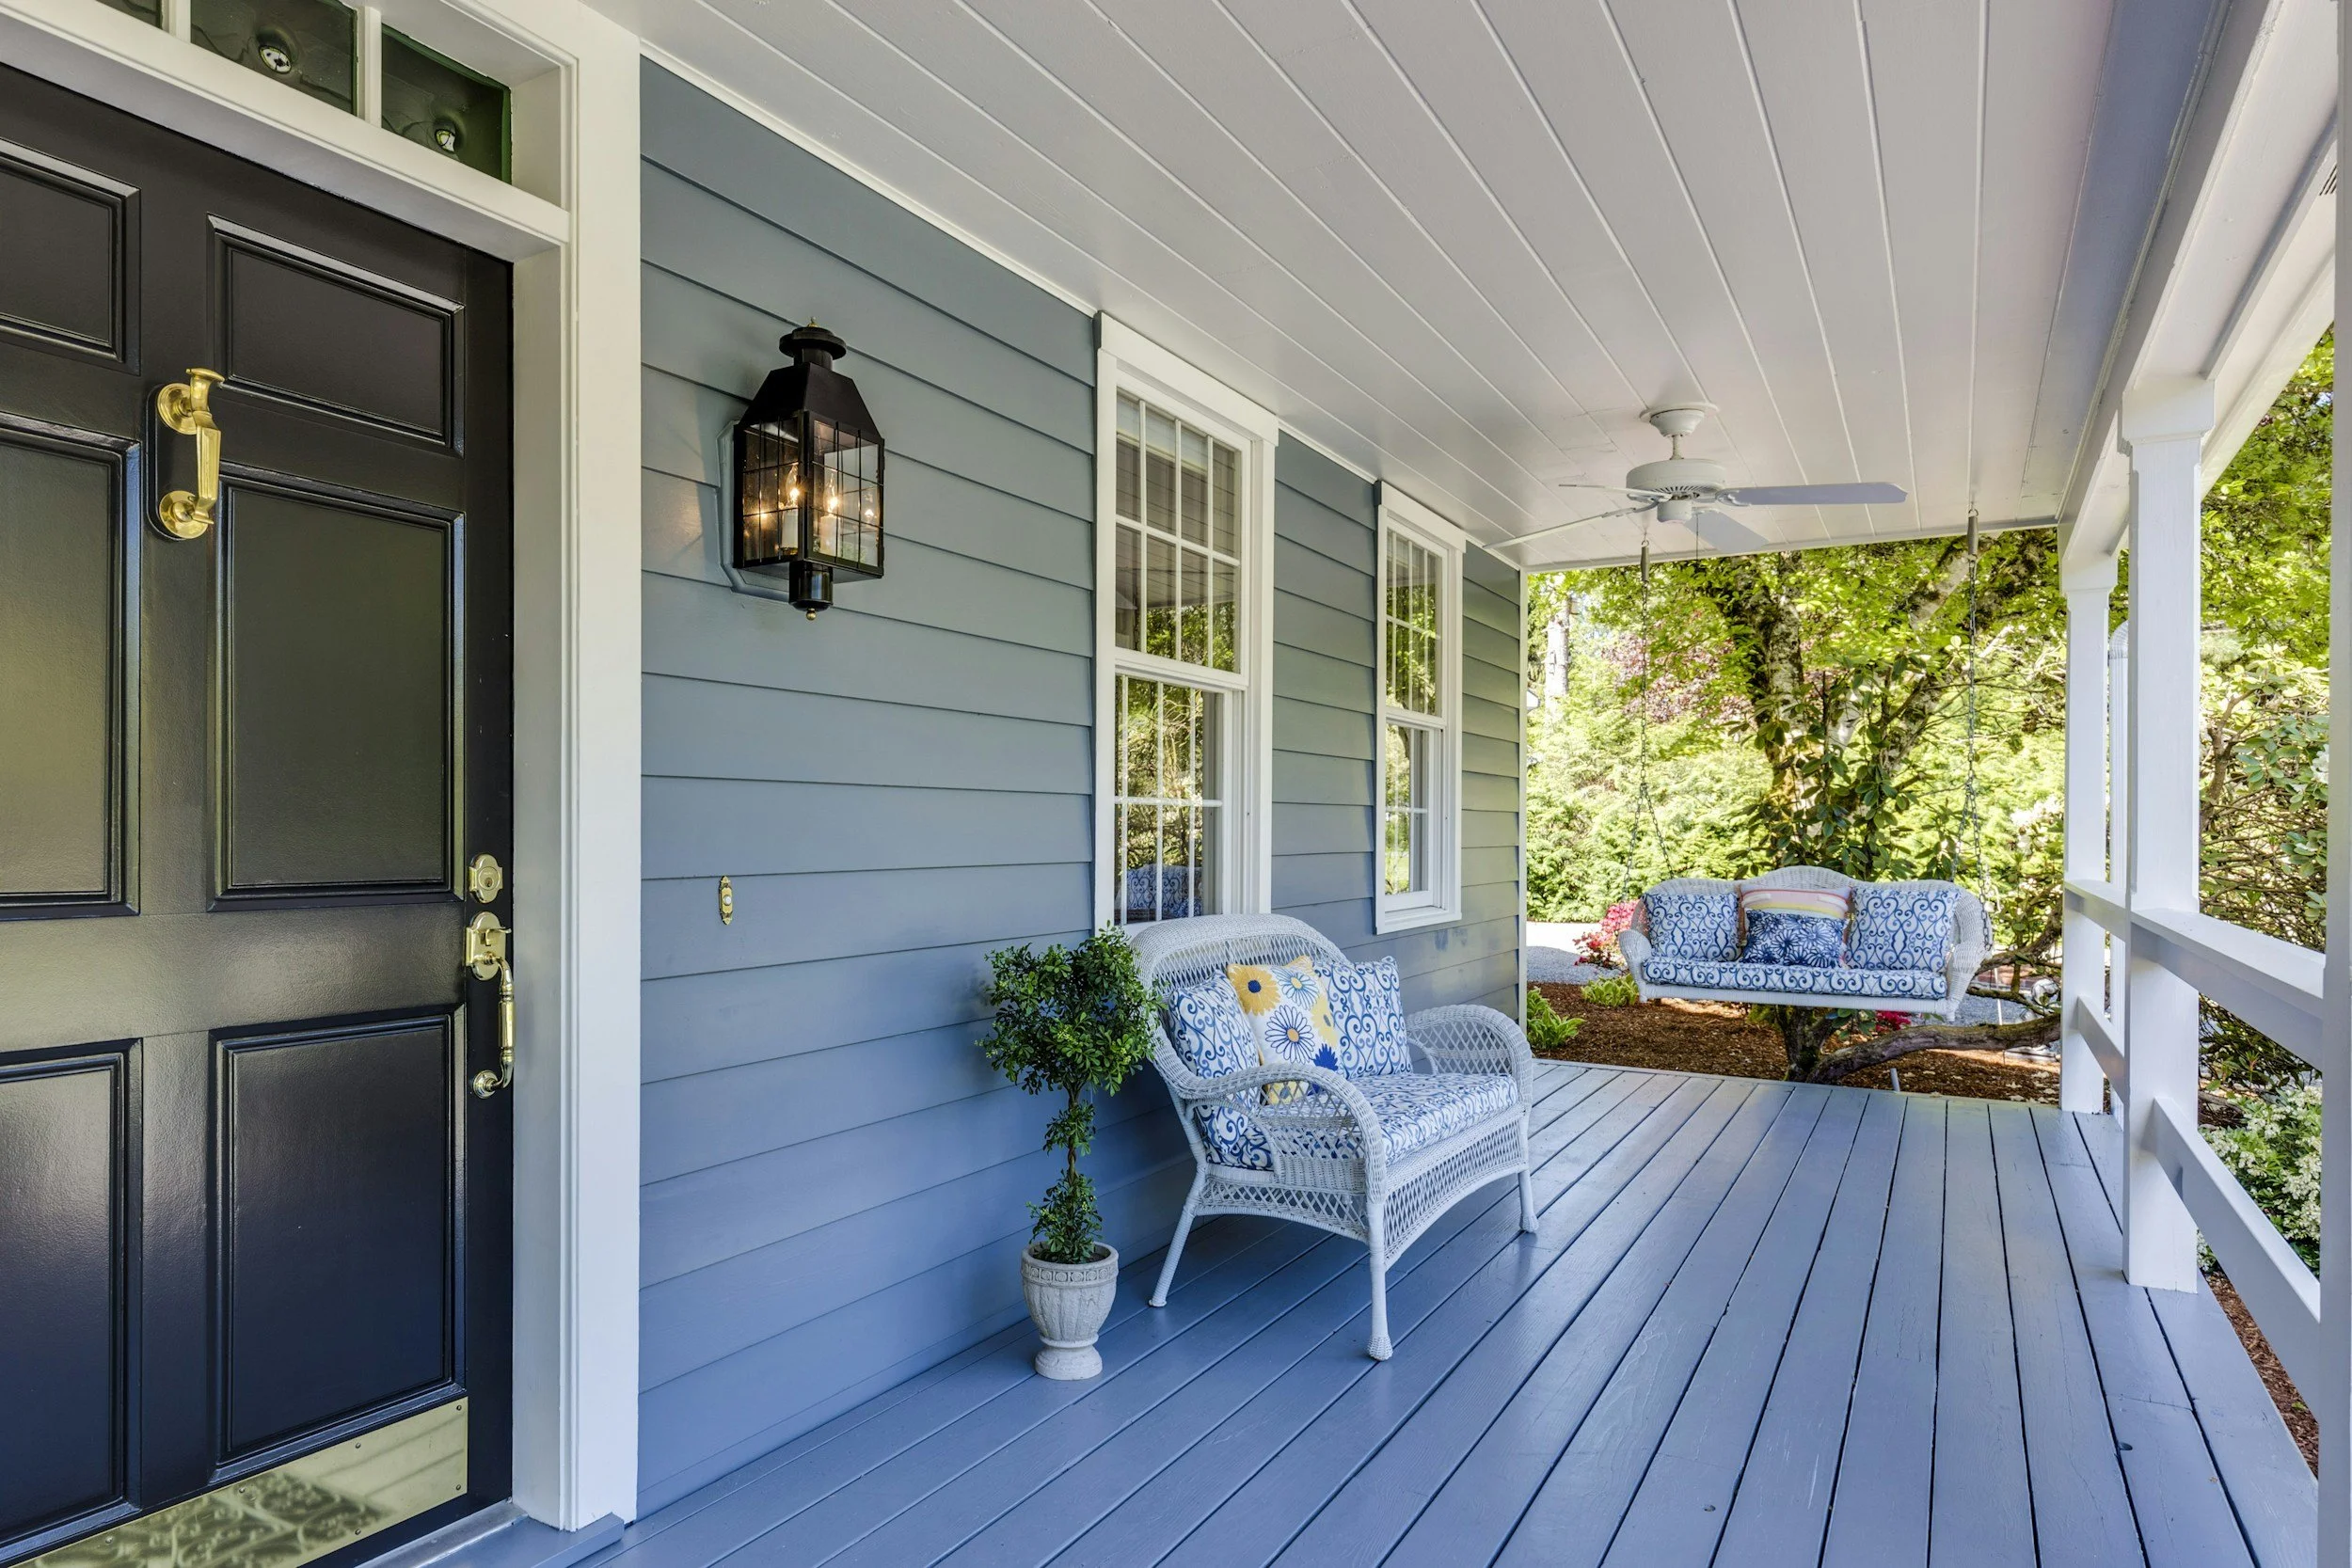
Nearly 80% of a paint job's longevity depends on proper surface preparation. Skipping essential steps like washing, sanding, caulking, or priming can lead to premature peeling, cracking, and costly repairs. Professional preparation creates a clean, stable surface that allows paint to bond correctly and perform for years.
This guide walks you through every stage of a professional exterior painting project from the initial inspection and protecting your landscaping to repairing damaged surfaces, applying premium coatings, and completing a detailed final walkthrough. Whether you're hiring a contractor or comparing estimates, you'll know exactly what to expect.
Complete Exterior Inspection
Every successful project begins with a thorough inspection of the home's exterior. A professional painter should carefully evaluate all painted surfaces, identify peeling paint, inspect for wood rot, locate failed caulking, check for moisture damage, and note any repairs that should be completed before painting begins. Taking the time to identify these issues upfront helps prevent unexpected problems later in the project.
2. Protect Landscaping and Surrounding Areas
Before any work begins, nearby landscaping, outdoor furniture, light fixtures, walkways, windows, roofing, and other surrounding surfaces should be carefully protected. Proper masking and covering prevent accidental paint splatter and keep your property clean throughout the project.
3. Pressure Wash All Surfaces
Exterior surfaces naturally collect dirt, pollen, mildew, chalking, and other contaminants that prevent paint from adhering properly. Professional pressure washing removes these contaminants, creating a clean surface for repairs, primer, and finish coats while helping extend the life of the paint system.
4. Scrape Loose and Peeling Paint
Any loose, peeling, or failing paint should be completely removed before repainting. Applying fresh paint over unstable coatings only leads to premature failure. Scraping creates a sound surface that allows new coatings to bond properly.
5. Sand Rough Edges and Glossy Surfaces
After scraping, surfaces should be sanded to feather rough paint edges and smooth transitions between bare wood and existing paint. Sanding also dulls glossy finishes, improving primer and paint adhesion while creating a cleaner, more uniform appearance.
6. Repair Minor Wood Damage
Minor wood deterioration should be repaired before painting. Small areas of rot, damaged trim, or minor imperfections should be addressed to restore structural integrity and provide a solid surface for paint. More extensive carpentry repairs should be completed before the painting process begins.
7. Replace Failed Caulking
Old, cracked, or separated caulk around windows, doors, trim joints, and siding should be removed and replaced with a high-quality exterior sealant. Fresh caulking helps prevent moisture intrusion, improves energy efficiency, and creates clean, finished lines throughout the home.
8. Prime Bare Wood and Repairs
Any exposed wood, repaired areas, stains, or bare surfaces should receive the appropriate primer before finish paint is applied. Primer seals porous materials, improves adhesion, enhances coverage, and helps create a consistent finish across the entire project.
9. Apply Premium Exterior Paint
Once preparation is complete, premium exterior paint should be applied according to the manufacturer's specifications using the proper techniques and recommended number of coats. High-quality materials and skilled application provide better color retention, weather resistance, and long-term durability.
10. Inspect Every Detail
Professional painters continually inspect their work throughout the project, checking for missed areas, ensuring even coverage, correcting imperfections, and maintaining clean lines around trim, windows, and architectural details.
11. Complete a Thorough Cleanup
At the end of the project, masking materials should be removed, debris collected, work areas cleaned, and landscaping returned to its original condition. A professional job should leave your property looking better than when the project began.
12. Conduct a Final Walkthrough
The final walkthrough gives homeowners the opportunity to review the completed work alongside the project manager, ask questions, identify any touch-ups, and ensure every detail meets expectations before the project is considered complete.
Final Thoughts
A quality exterior paint job is built on preparation, craftsmanship, and attention to detail—not just the paint itself. By following this checklist, professional painters help ensure a finish that not only looks beautiful but also protects your home from Georgia's weather for years to come. Whether you're comparing contractors or planning your next project, understanding these essential steps will help you make an informed decision and invest in results that truly last.
